vellum
Before the
story begins

We offer both blank and printed vellum title pages. If you choose to add one, your album must begin on a ½ spread (single page). This ensures the vellum sits correctly over the opening image.
WHAT VELLUM OFFERS
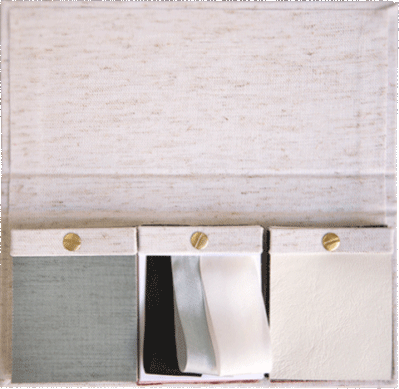
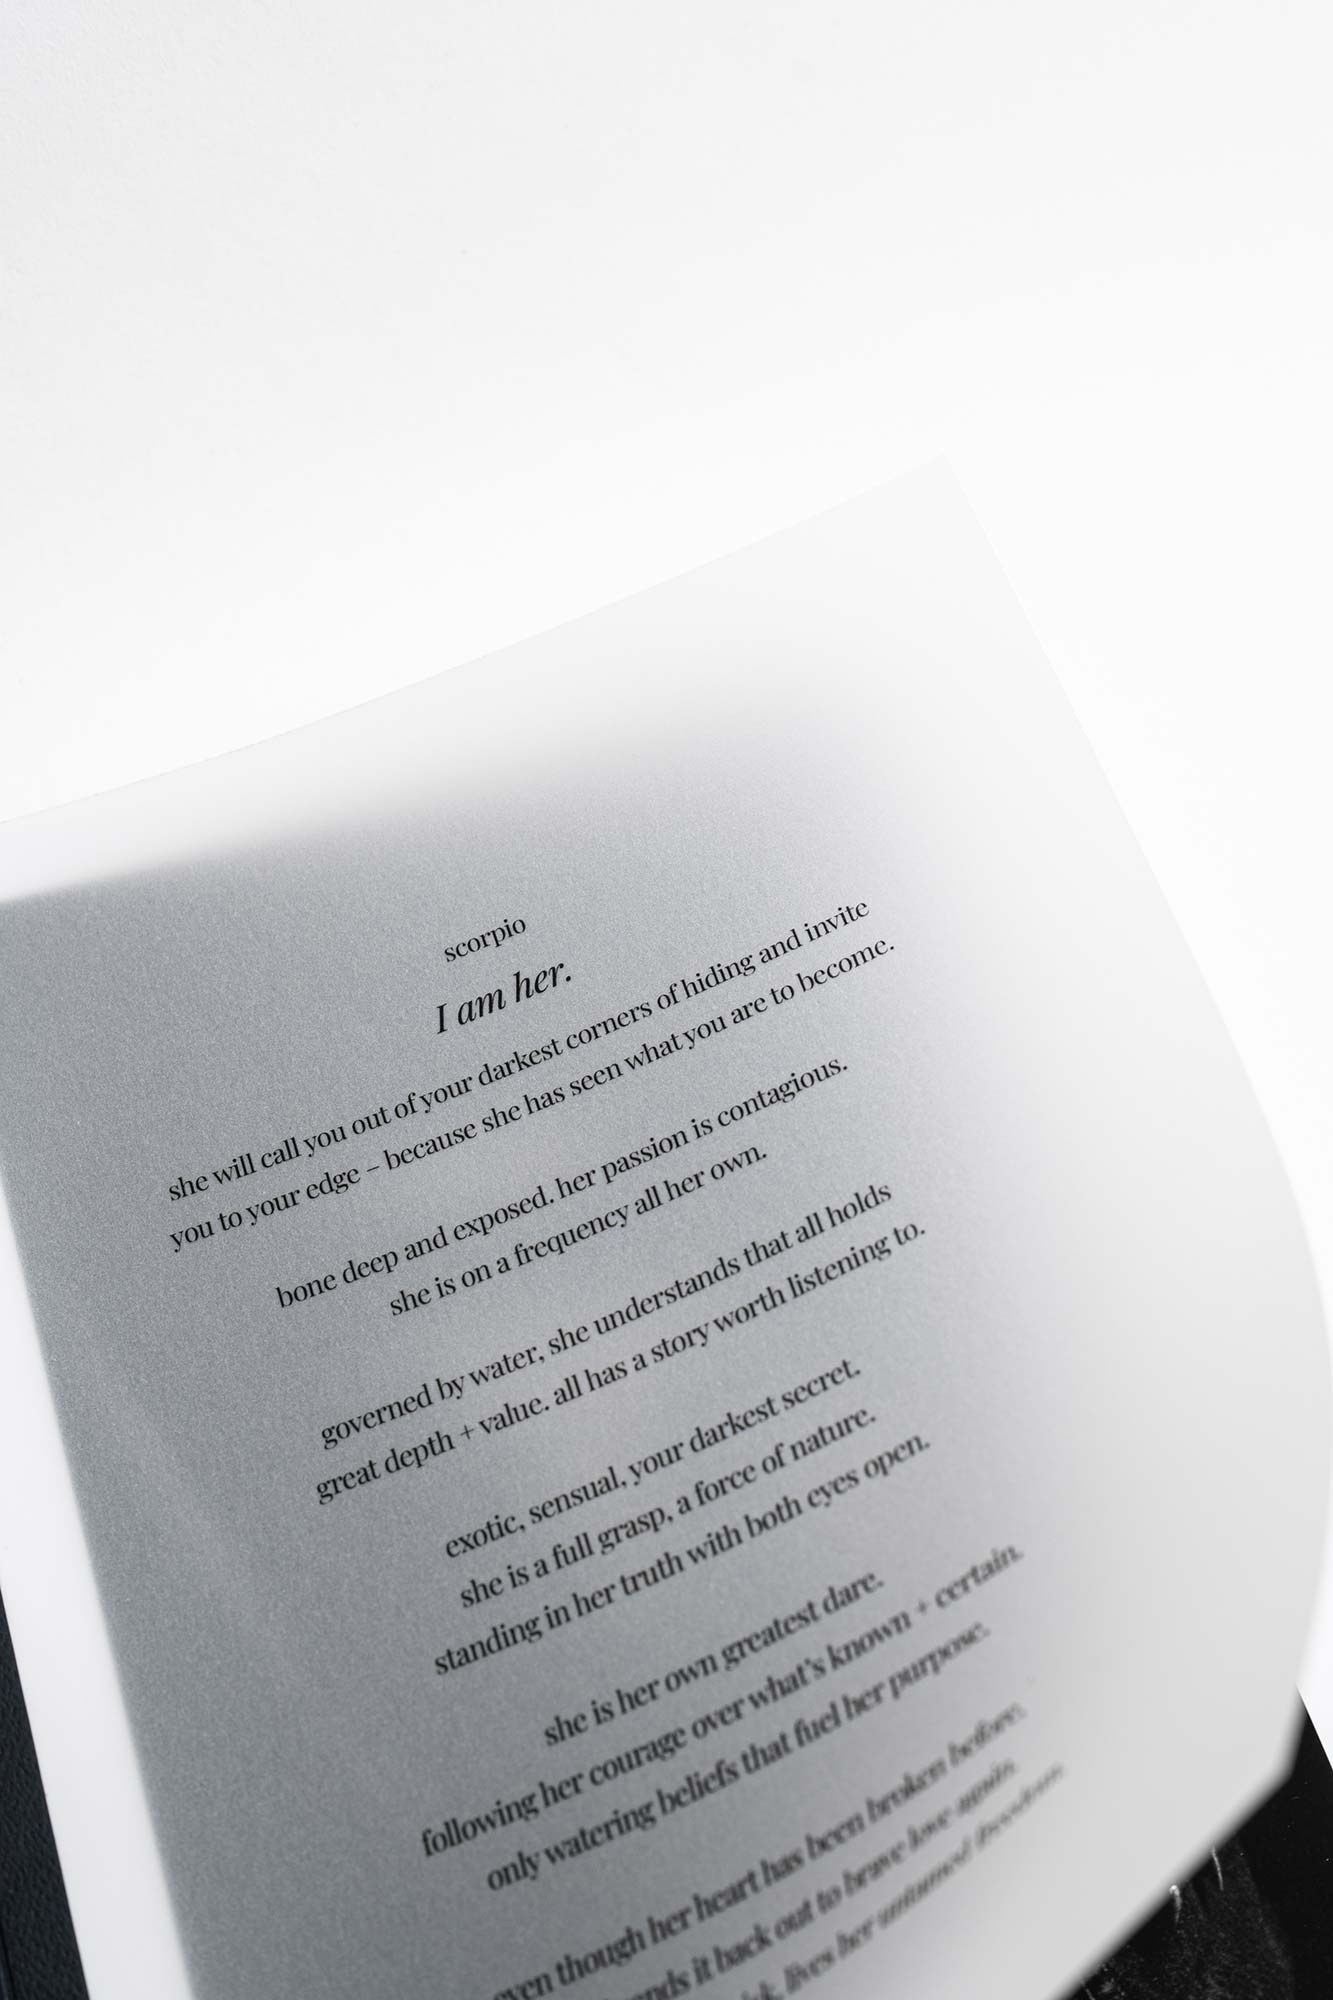
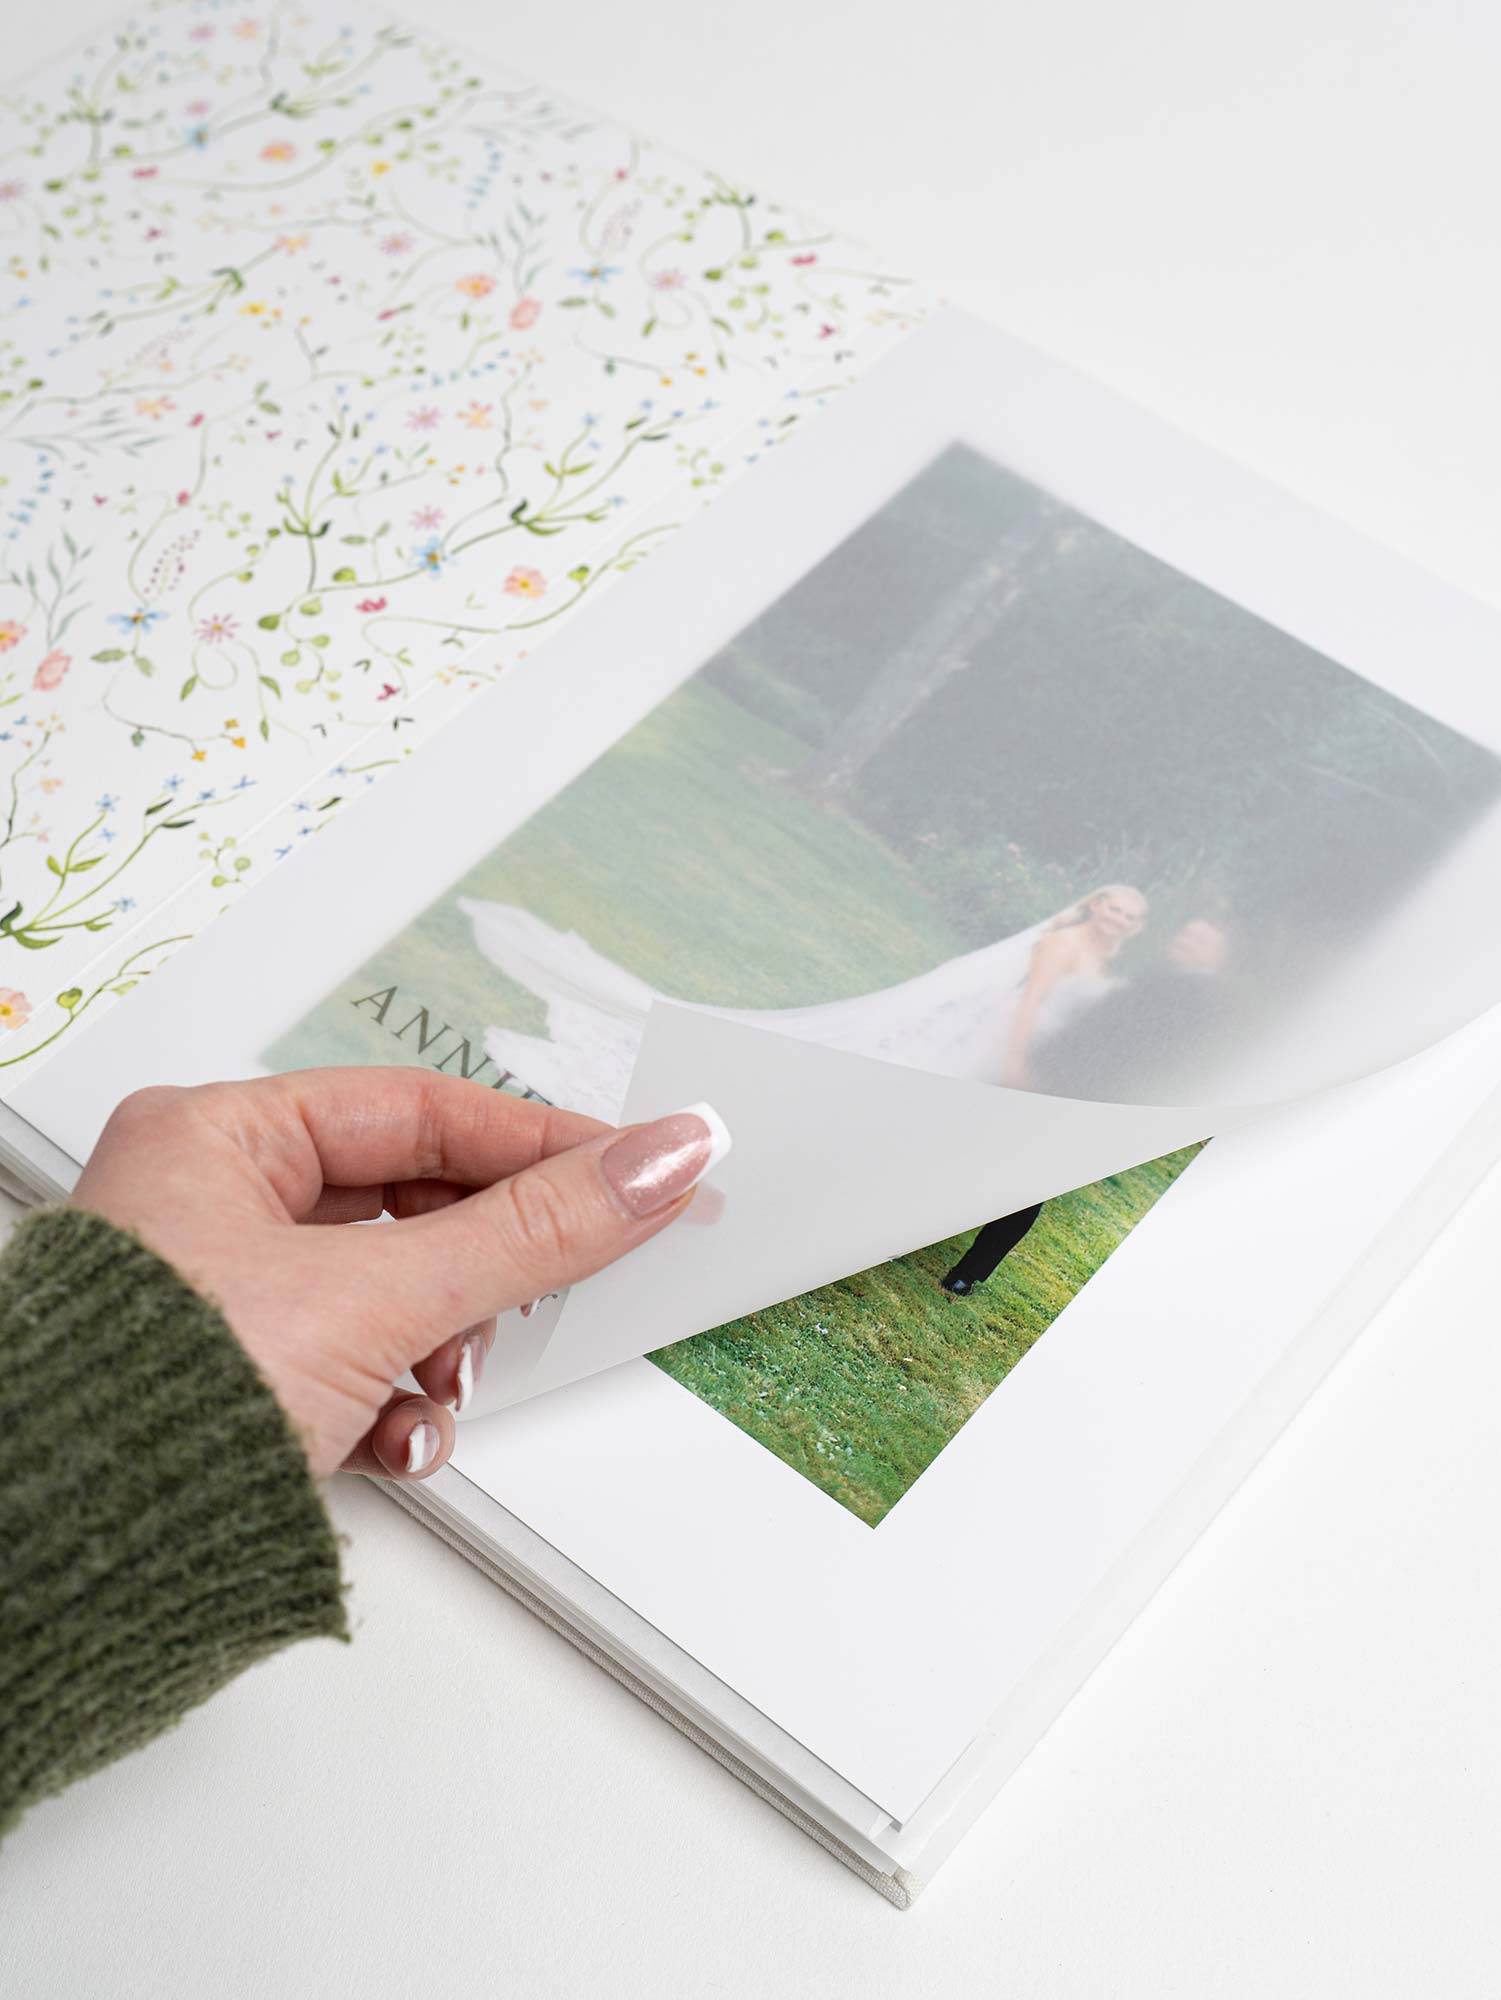
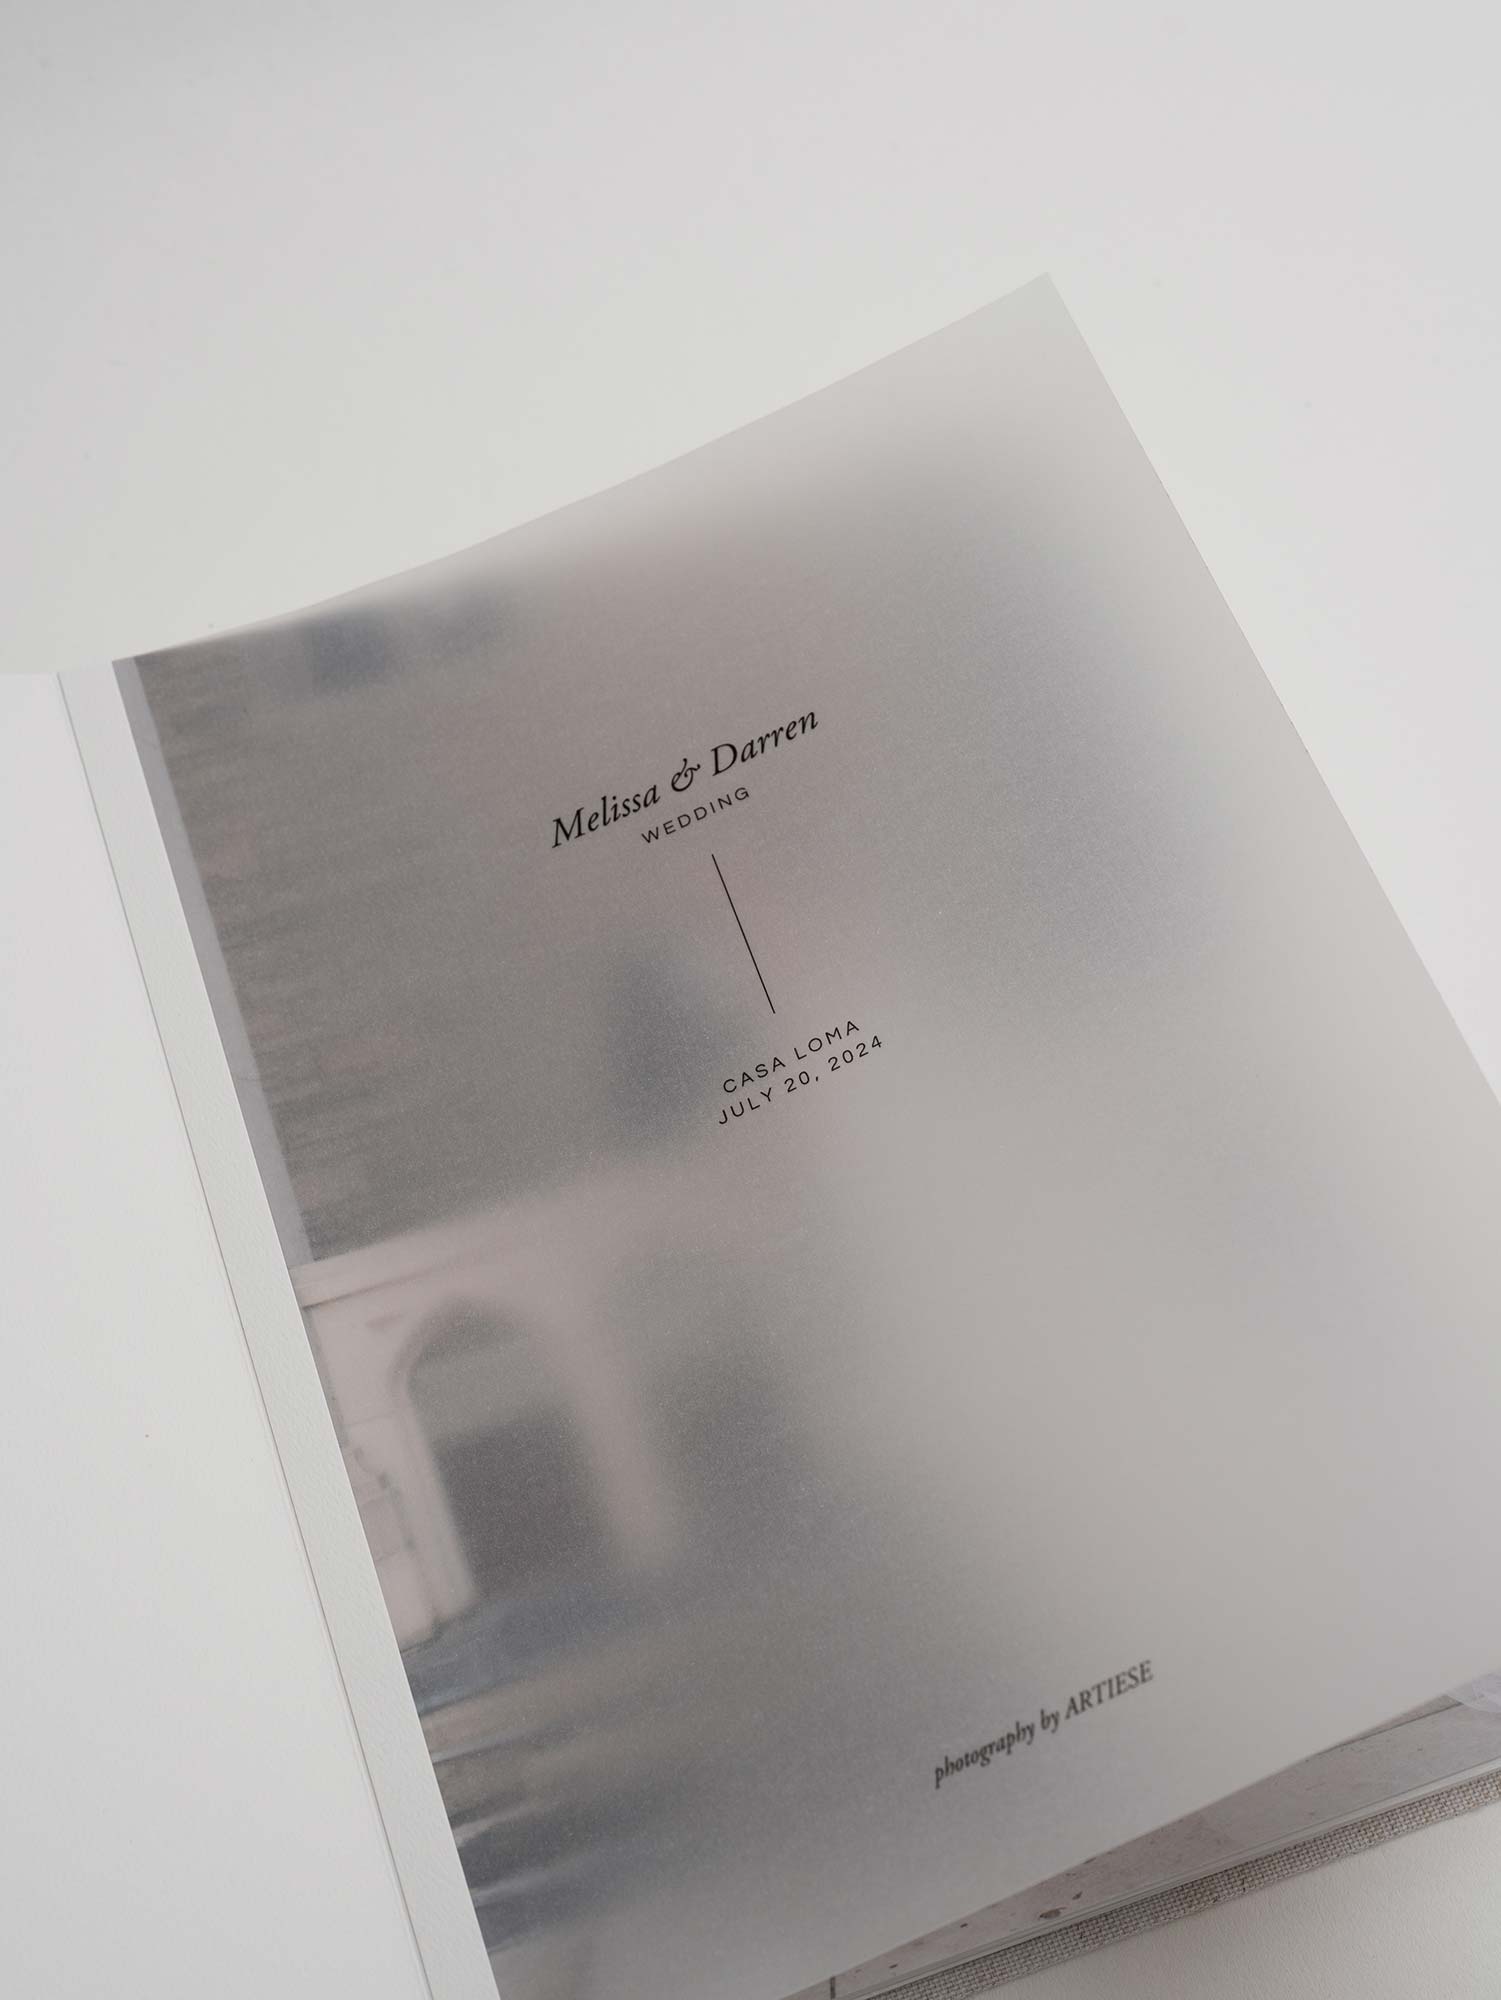
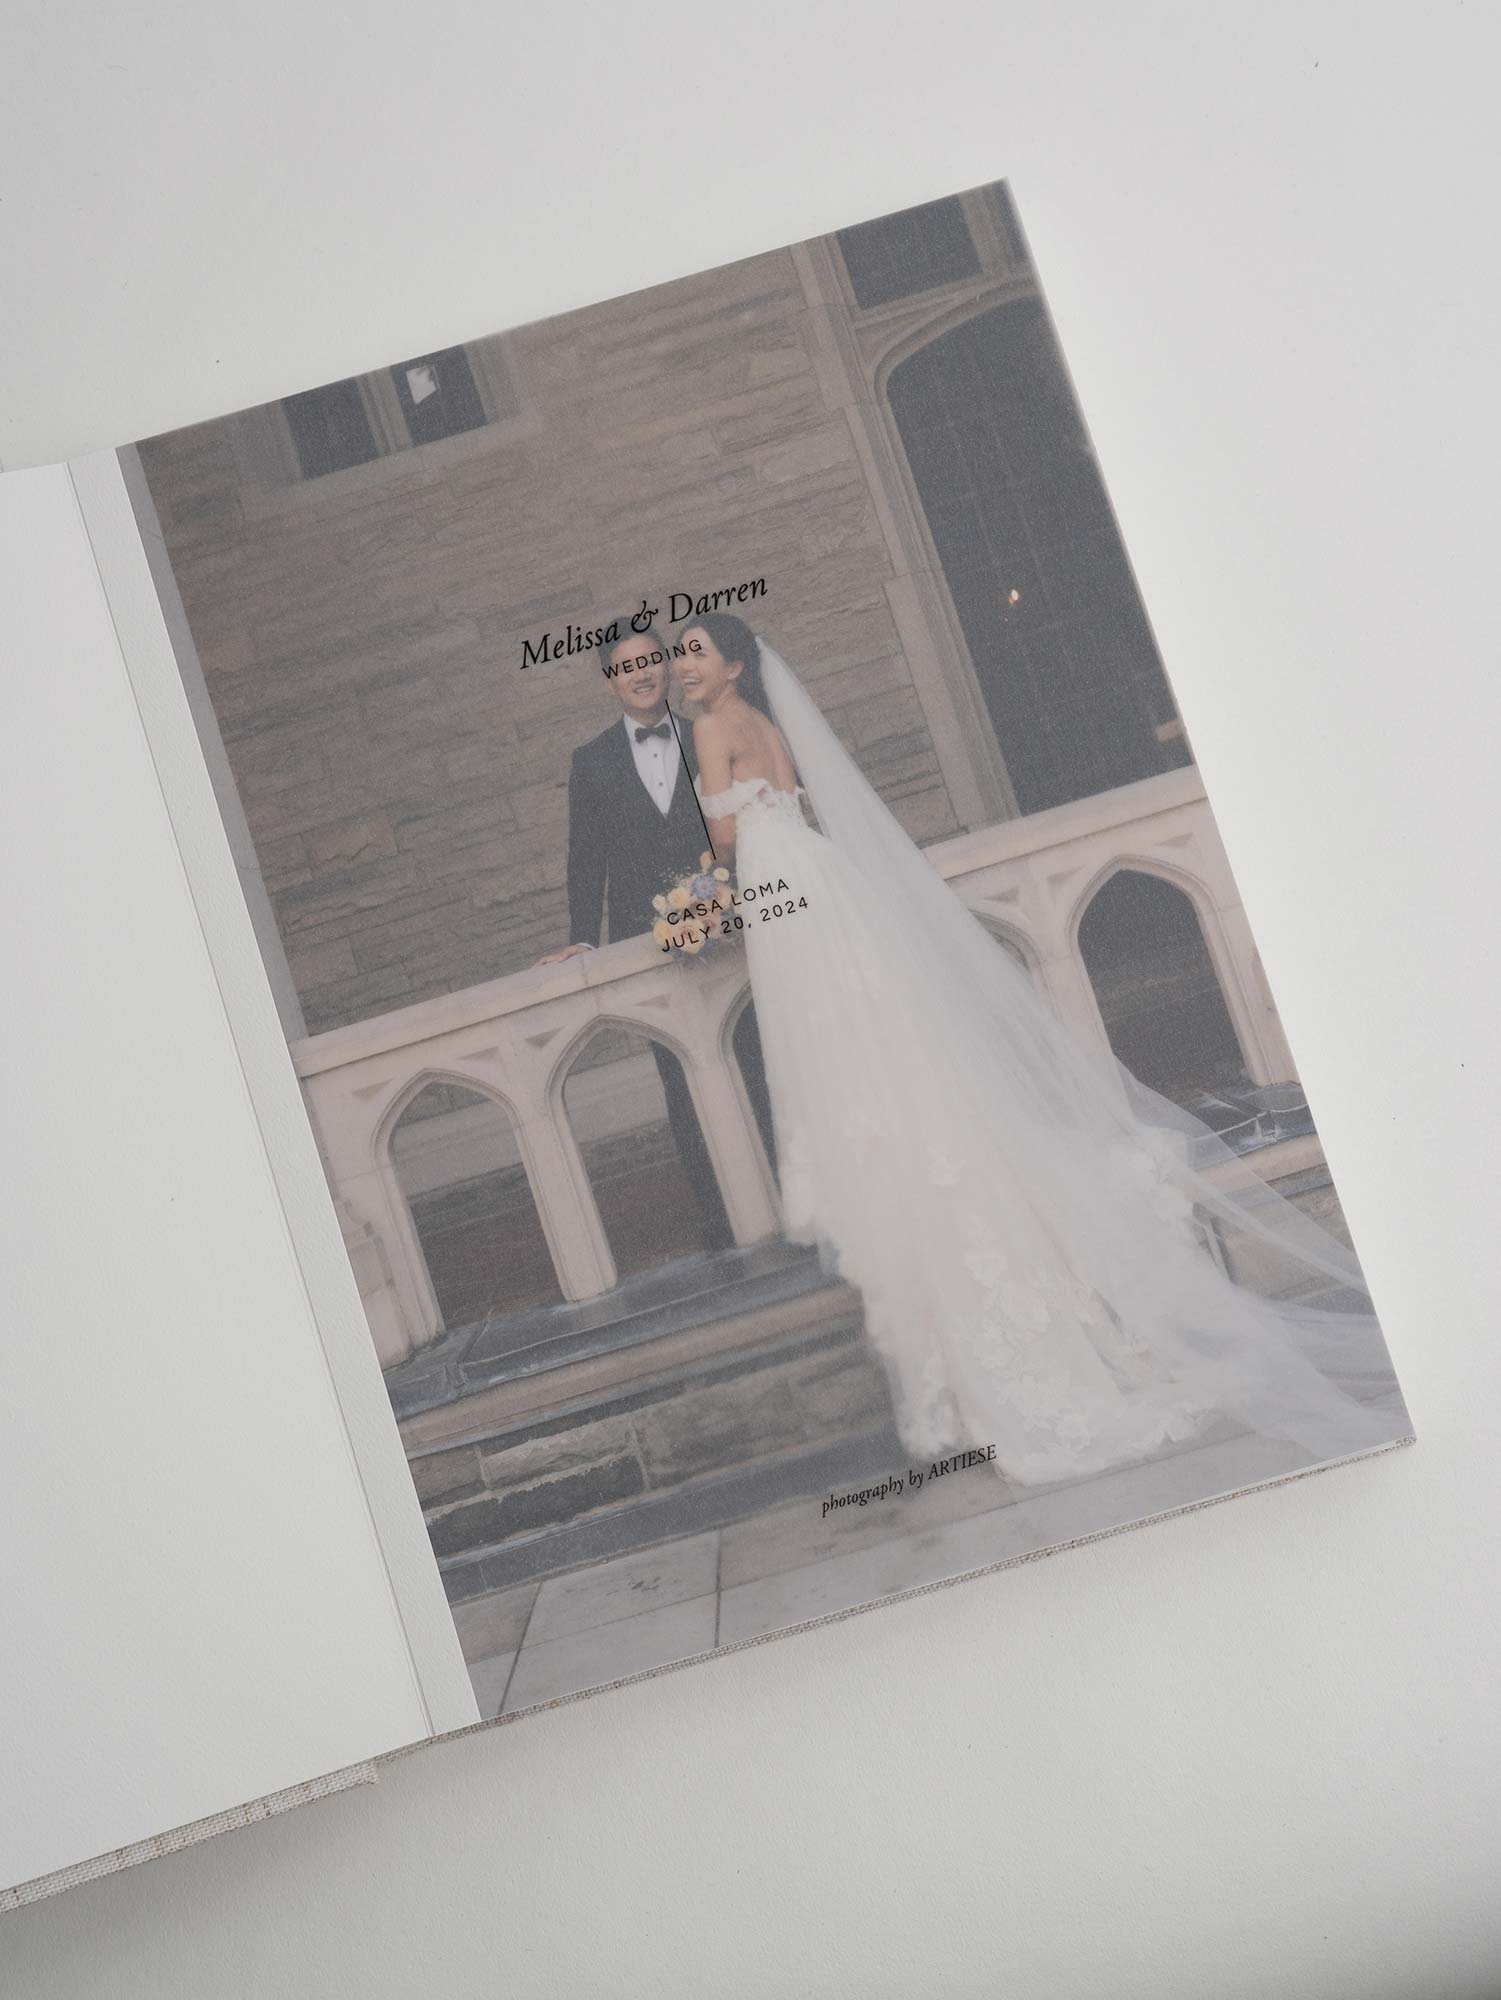
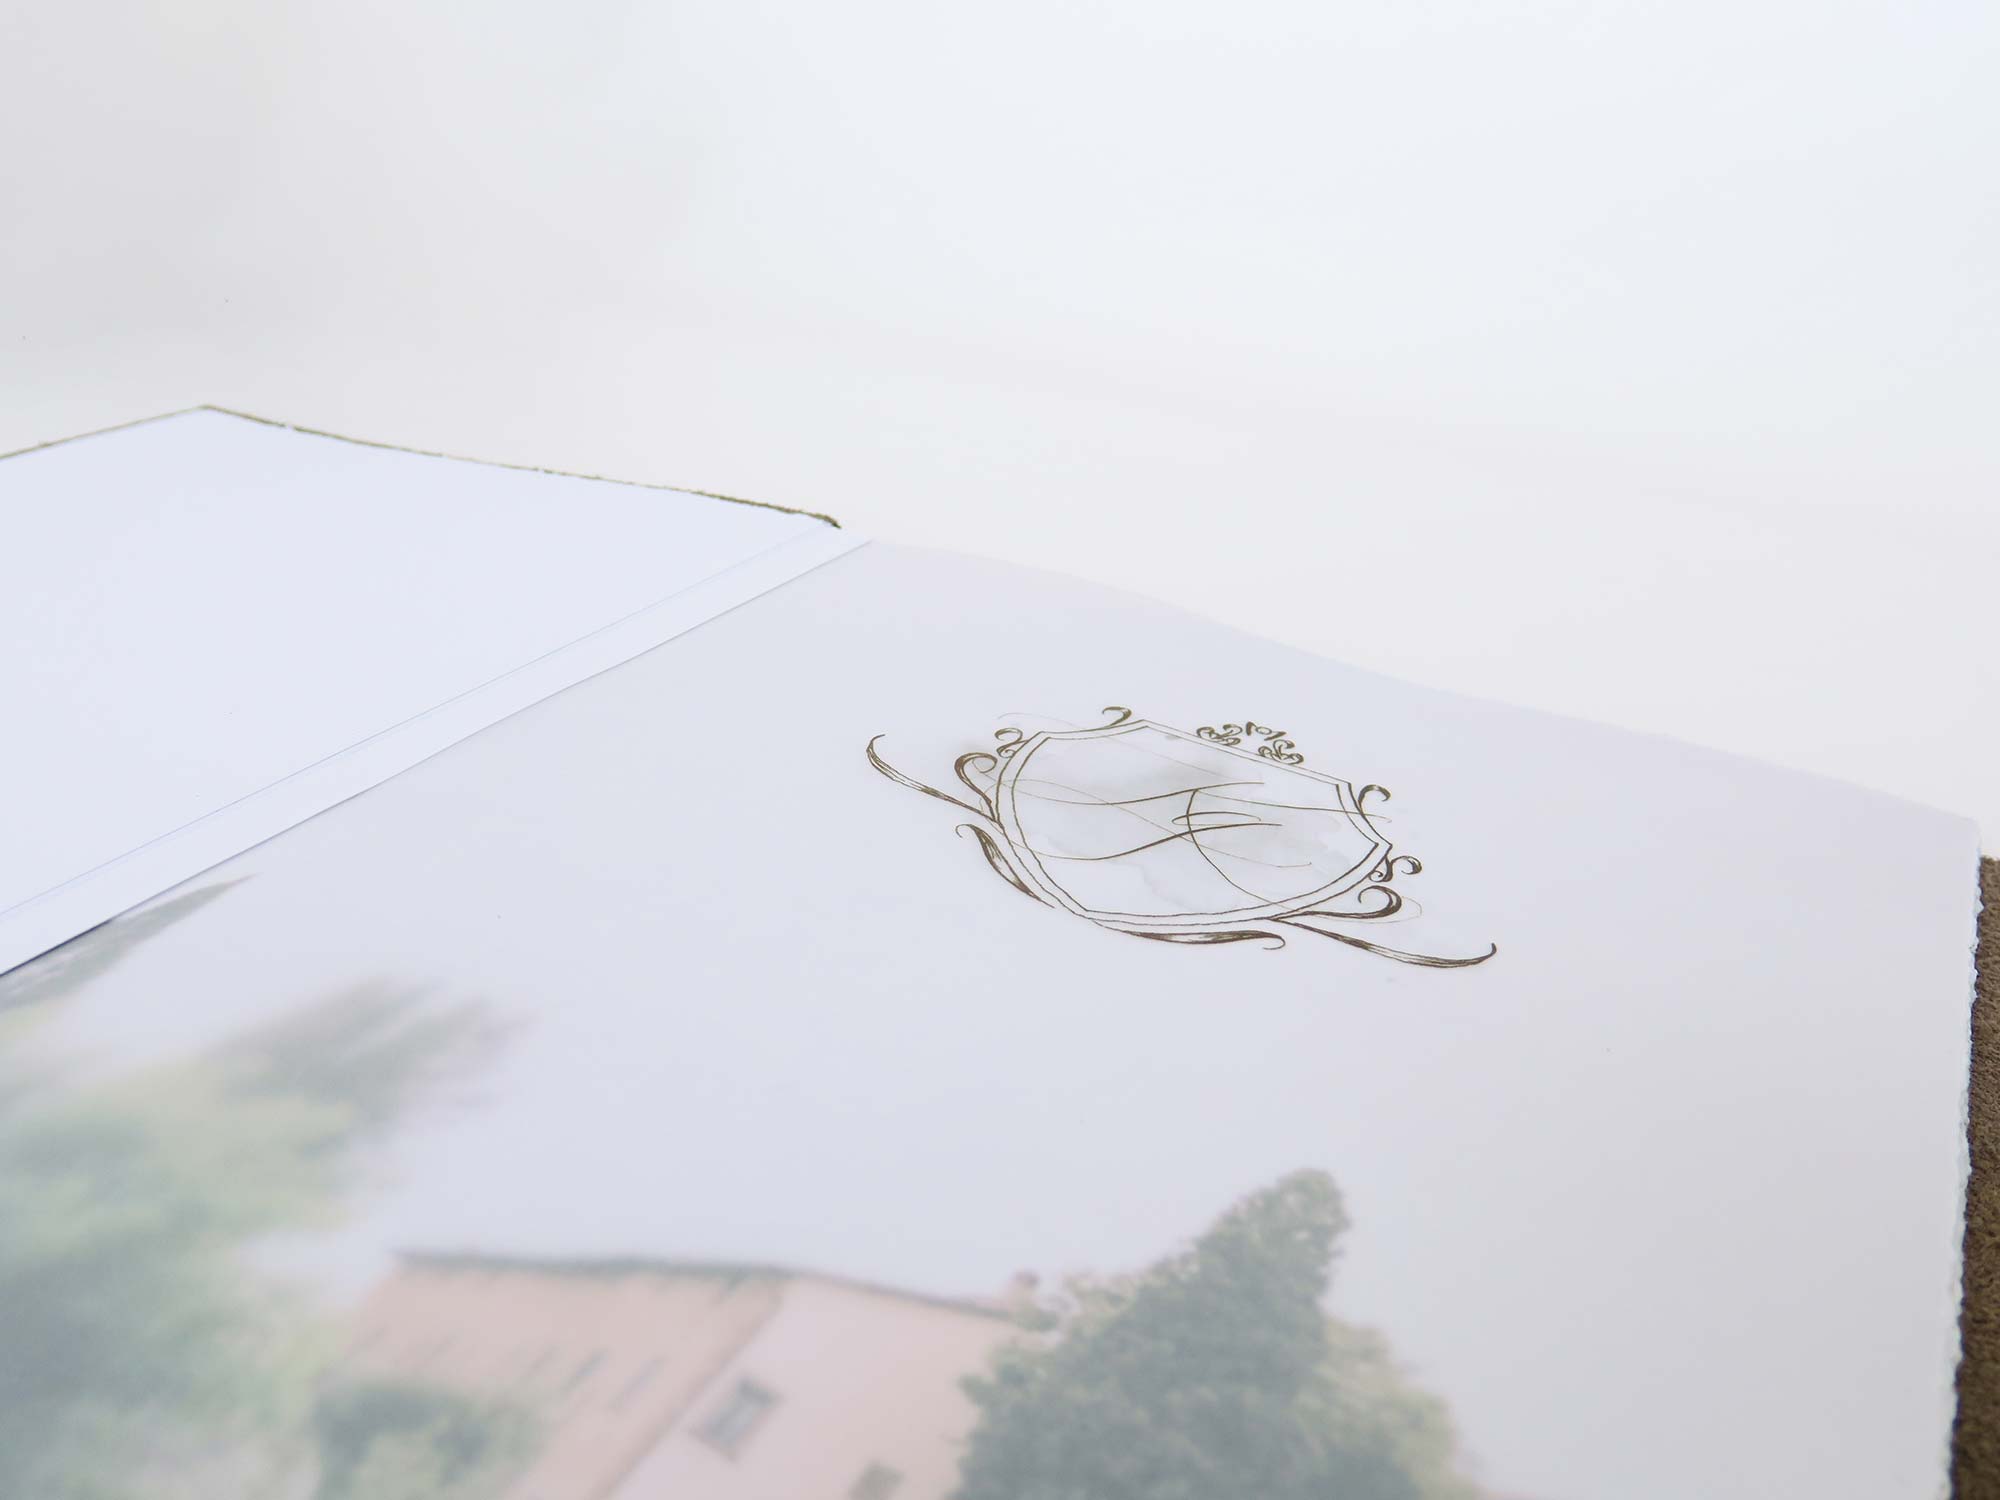
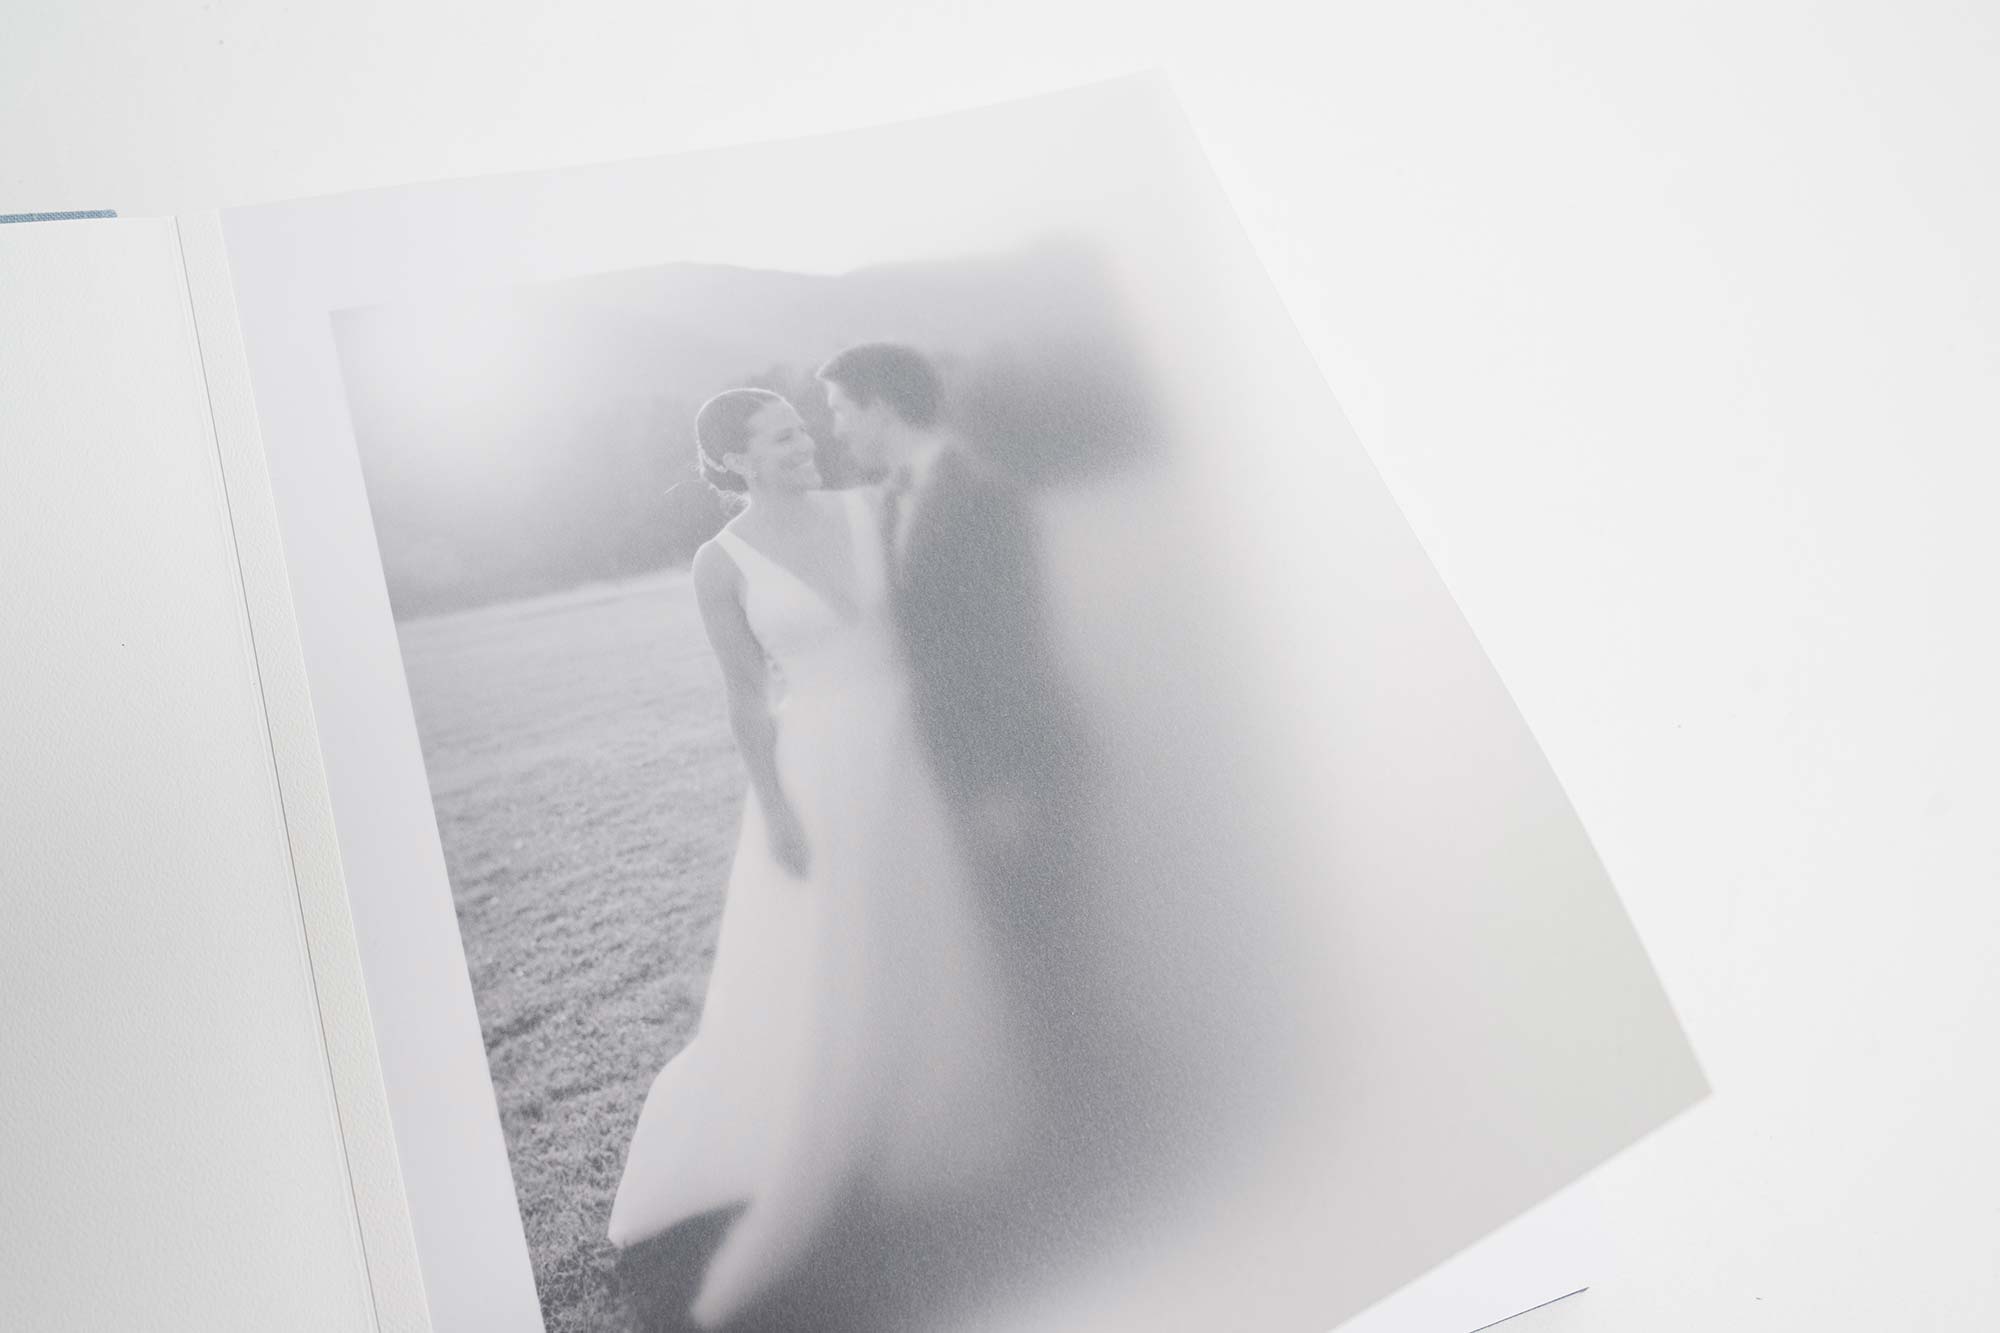
A vellum title page is a translucent sheet bound inside the front cover, softly layered over the opening spread. It creates a quiet reveal as the first page turns, with text or illustration appearing to float above the image beneath – a simple, fine art way to begin the story for wedding, portrait, and family albums.
DESIGN POSSIBILITIES
Create a minimalist title, monogram, or subtle illustration that echoes the day. Alternatively, leave the vellum blank for a quiet, translucent opener. Designed as a single-page file, it can be tailored to each project while staying consistent with your studio’s aesthetic.
BEST USES FOR VELLUM
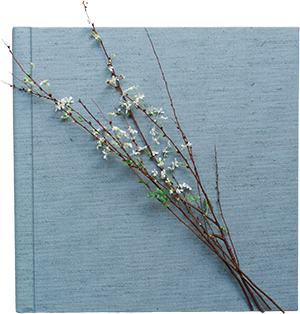
Vellum is especially suited to fine art wedding, portrait, and family albums. It creates a considered and elevated opening. It also pairs beautifully with linen, leather, and other tactile cover materials.
FILE PREPARATION
how to
create Vellum
SET up
DOCUMENT
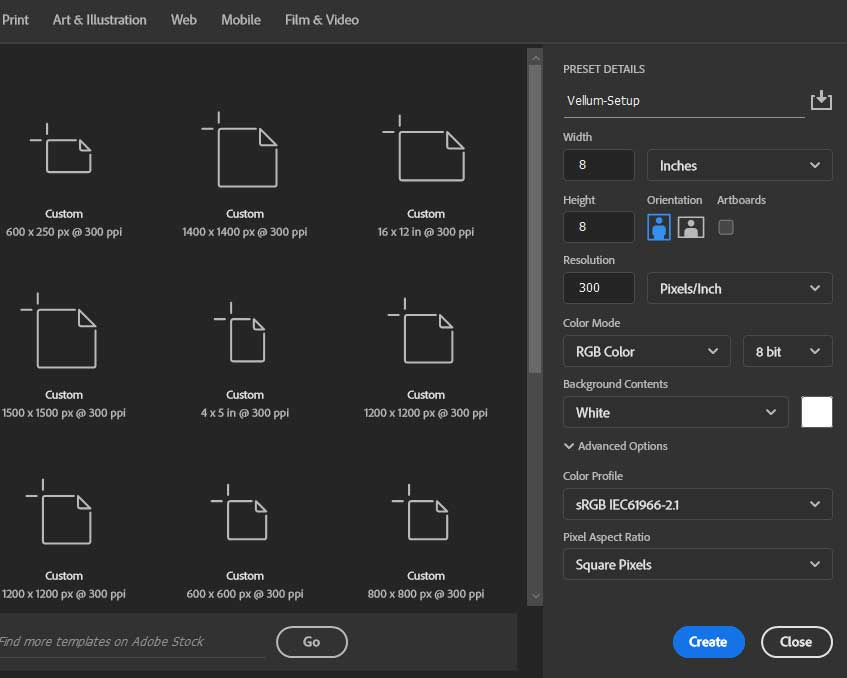
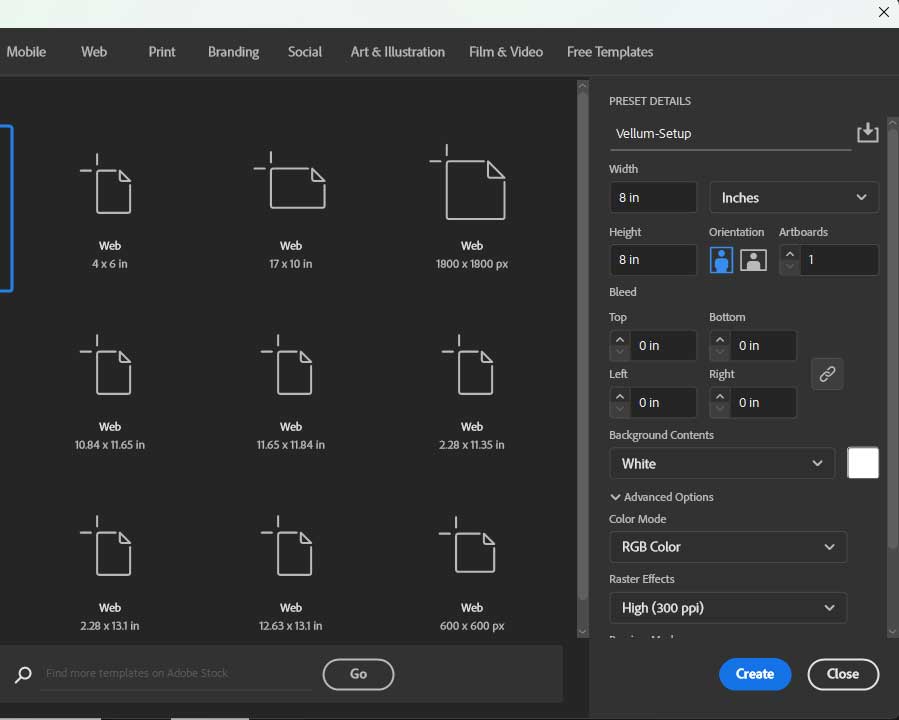
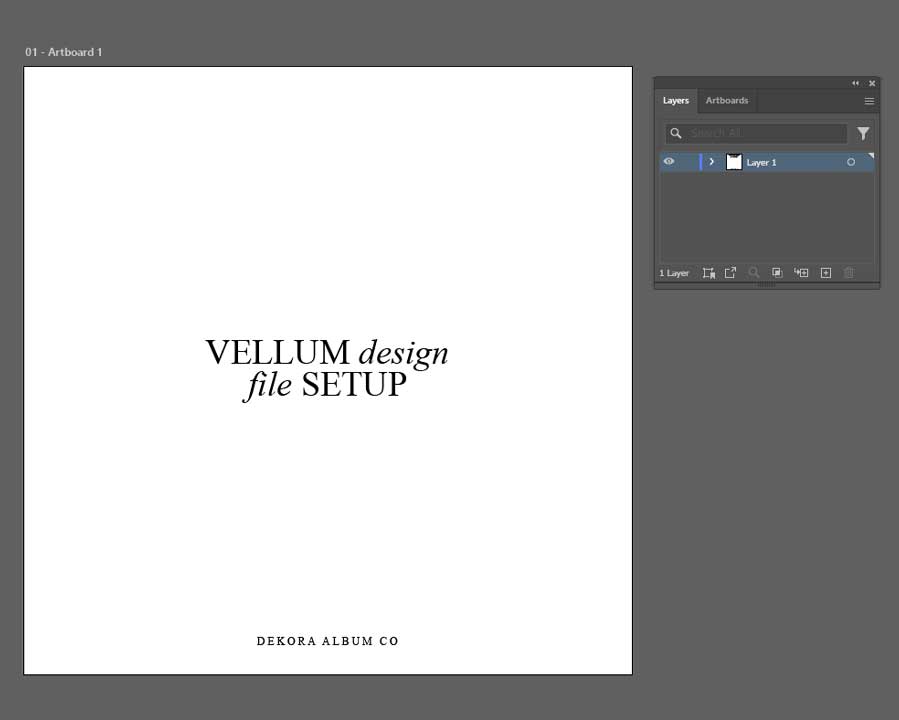
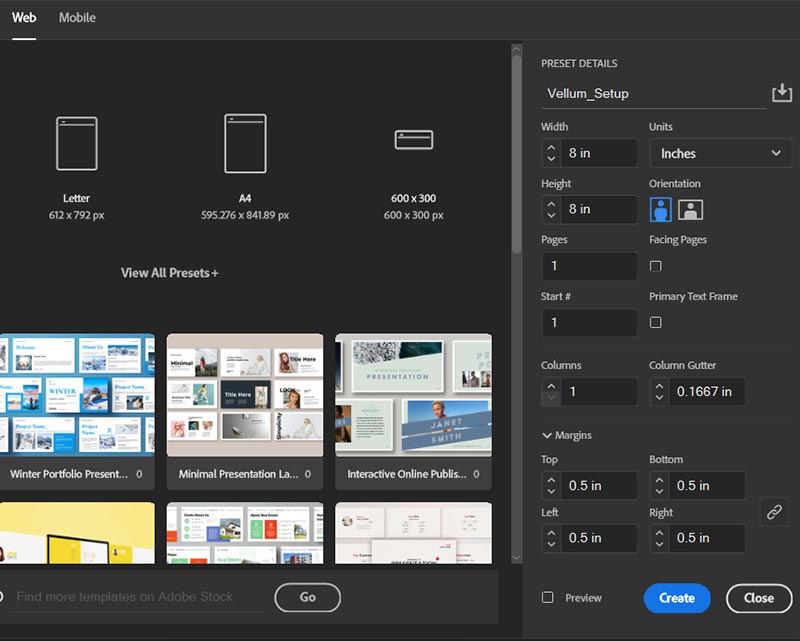
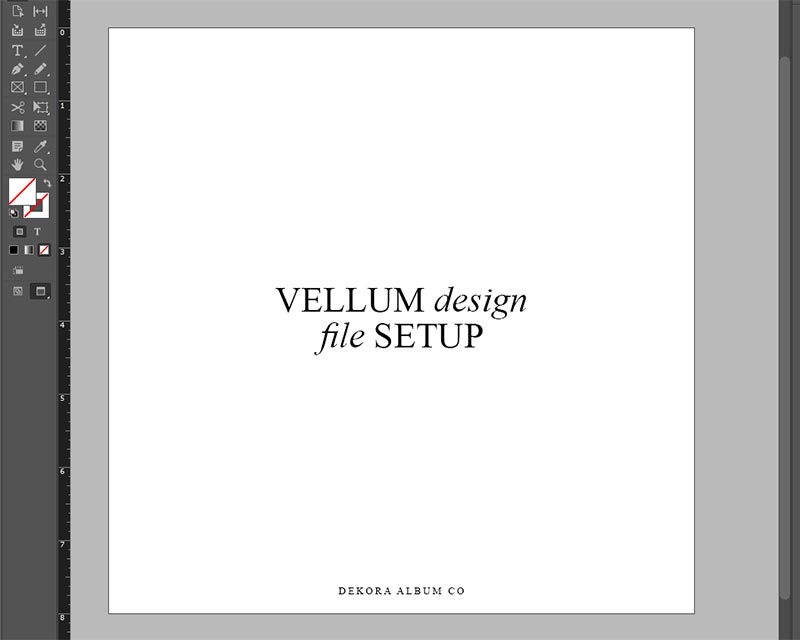
Create your vellum design in Photoshop, Illustrator, or InDesign as a ½ spread (1 page) at your album size (e.g. 8×8) on a white background. This will ensure the vellum sits correctly over the first page of your album.
LAYOUT &
SAFE AREA
Keep your design’s important elements at least 0.4" from all edges. Along the left side, a strip of approximately 0.375" is used to hide the binding, so avoid placing key details there.
EXPORT
FILE
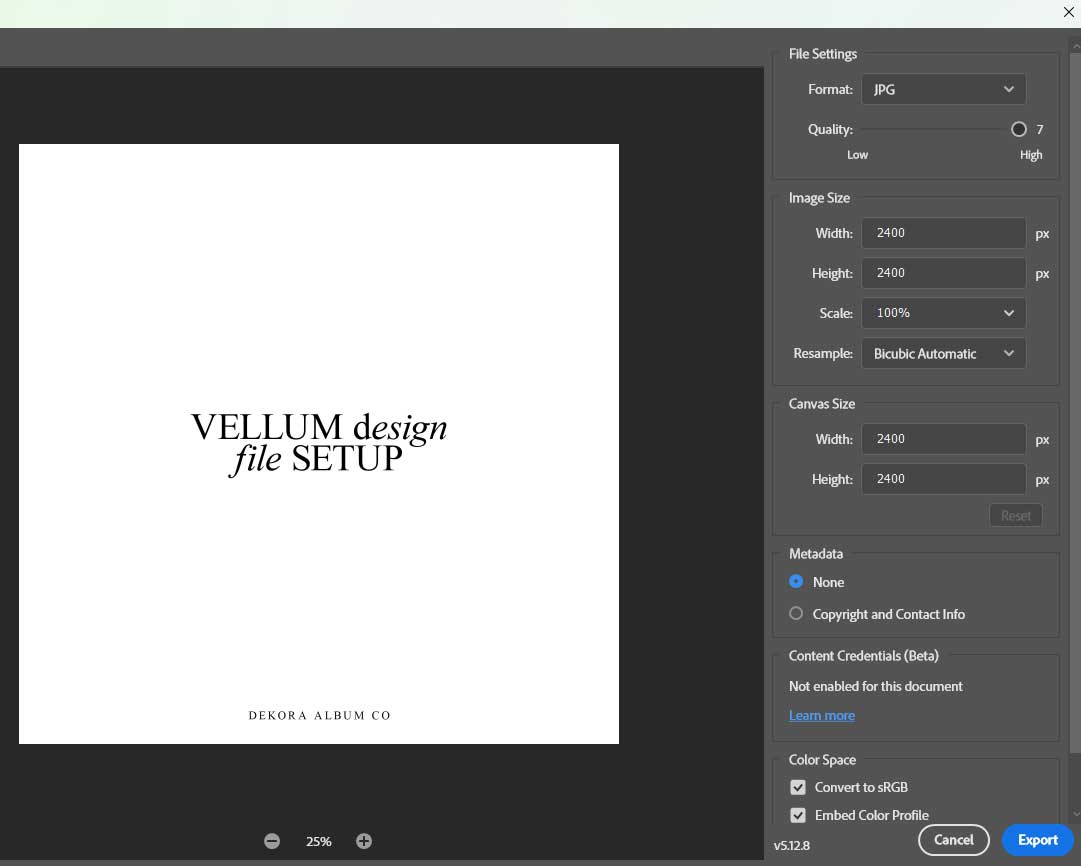
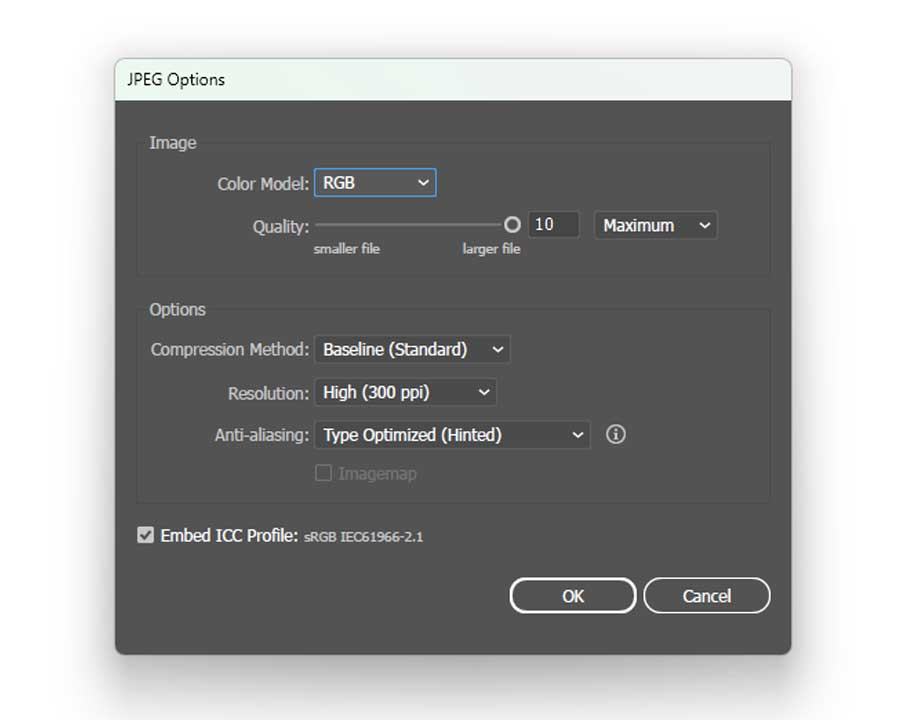
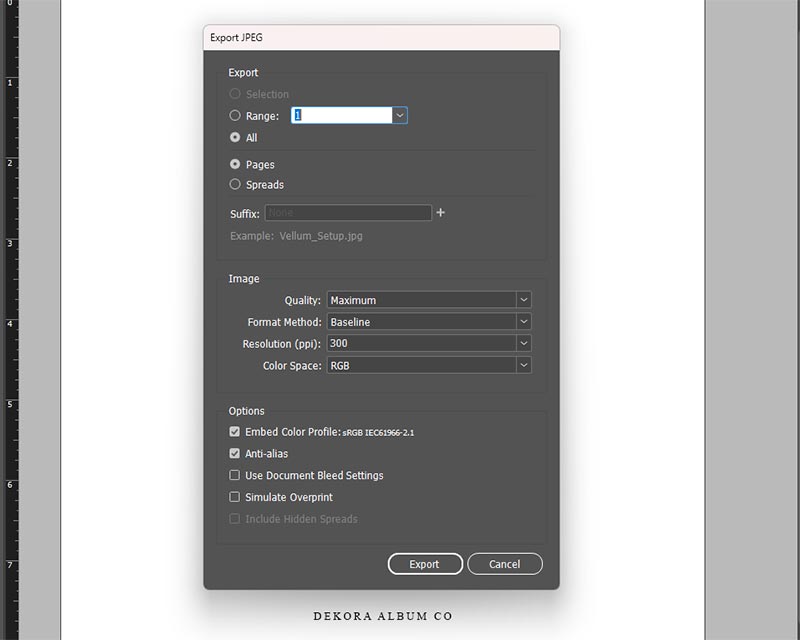
Please do not use any white for the text or vector graphics, as white areas will not print and will instead remain the natural vellum colour. Save the file as a high-quality JPEG in sRGB colour space at 300 dpi to ensure consistent print results.
order details
how to
order
You can add vellum to most albums in the Add-Ons / Embellishments area of the order form, except our Artisan Album, which already includes vellum.
important layout note
When adding vellum, your album design should start with a ½ spread (single page) so the vellum can overlay on top of the first image as intended. If your album starts on a full spread, the vellum effect will not work as designed.
PRINTED VELLUM
For a printed vellum title page, upload your vellum JPEG along with your album spreads and include it in the same file-share link you paste into the order form.
BLANK VELLUM
If you prefer a blank vellum, select the vellum option (where available). Then write “Blank vellum” in the “SPECIAL INSTRUCTIONS” field. You can choose this for your current order or to keep on file for future projects. If vellum is selected but no file or note is provided, our team will contact you. This helps confirm your preference before production begins.
vellum
Tips & Best
Practices
Keep it
simple
Use minimal text and clean graphics so the design feels intentional and doesn’t compete with the image beneath. Repeat the same styling across albums to keep your work consistent.
Prioritize
legibility
Avoid very small or overly delicate typeface, and always check your design at actual size to make sure names, dates, and details remain easy to read on vellum.
Proof &
reuse
Overlay your vellum file on page one at about 65% opacity to confirm placement and spacing, then save the final layout as a template to speed up future projects.
faq
you ask
we answer
1. Which albums can include vellum?
Vellum is included with the Artisan Album and can be added as an embellishment to select other album types. Availability may vary by product, so please refer to the options listed on the order form for the album you’re ordering.
2. Does my album design need to start with a ½ spread?
Yes. For vellum to sit correctly over the opening image, your album design must start on a ½ spread (single page). This is required for Artisan Albums and for any album where the Vellum Add-On is selected.
3. How should I set up my vellum file?
Create a single-page (½ spread) document in your chosen album size with a white background, set to sRGB at 300 PPI. Keep important text and artwork at least 0.4" from the edges, and remember that approximately 0.375" on the left side will be covered by the binding strip. Then save the file as a JPEG (sRGB, 300 PPI) and include it with your album files.
4. Can I use any colour for my design?
Yes, you can use most colours for your text and graphics. Please avoid using pure white, as our main vellum printer will not print white. If you’d like a white only design, we also offer a separate white ink printer. Simply submit artwork created entirely in white.
5.How can I preview how the vellum will look over my image?
To proof your design, open page one of your album in Photoshop, place the vellum design on top, and reduce the vellum layer opacity to around 65%. This will give you a quick preview of how the text or artwork will sit over the image beneath.
6. Where do I upload my vellum file?
First, upload your vellum JPEG along with your album spread files and include it in the same file share link you provide on the order form. Our team then uses this file when producing the vellum title page.
7. Does adding vellum change production times?
In most cases, vellum is produced within the standard turnaround time for your album. However, if your order is time-sensitive or includes multiple embellishments, we recommend contacting us in advance so we can confirm timing.
8. Can I order a blank vellum?
Yes. If you’d like a blank vellum (with no printing), select the vellum option on the order form and write “Blank vellum – no printing” in the “SPECIAL INSTRUCTIONS” field. In this case, you don’t need to upload a vellum file.